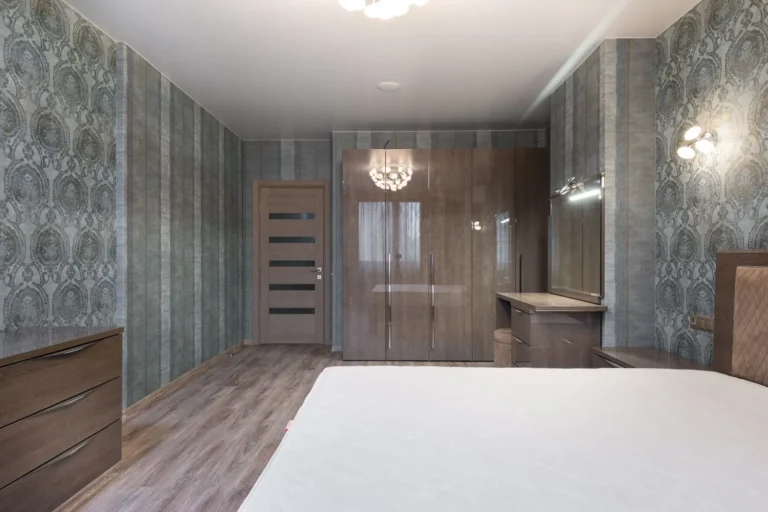
The first night in a new rental is the same in every apartment. You walk through the empty rooms with the lease still tucked into your bag, you flip the light switch in the bathroom and find one bare bulb, you open the closet that does not have a shelf, and you stand in front of the long living-room wall trying to decide what you are even allowed to do with it. Rental beige carpet. A 2008 laminate backsplash you did not pick. And somewhere in the lease, a paragraph about nail holes and damage tied to a deposit number you would very much like to see again in twelve months.
Renter-friendly decor is the workaround for that paragraph. Done well, it lets you live in a small apartment for two years as if it actually belongs to you, then comes off in a weekend and leaves the walls, floors, ceiling, and trim exactly the way you found them; done badly, it eats your deposit in slow motion and leaves you defending peeled paint on a Zoom call with a landlord in another state. The line between those two outcomes has less to do with money or taste than with knowing which method holds where, and what order to do things in.
Every section below points to a deeper spoke post when there is a product decision to make, and stays out of your way when there is not. The destinations: walls, floors, kitchen backsplash, ceiling and trim, bathroom, and the everything-else-you-want-to-hang problem. Plus the deposit-saving habits that turn a two-year stay into a clean move-out.
A method is renter-friendly if it clears three tests. It installs without a fastener that leaves a hole. It comes off cleanly at the end of the lease without taking paint, finish, or surface with it. And it leaves no residue, oily transfer, dye marks, or telltale rectangle of cleaner wall where the decor used to sit. If a method fails any of the three, save it for a place you own.
The deposit math behind those rules is worth understanding once (the specific dollar ranges and the seven-rule checklist come further down). In most US states, a landlord can withhold deposit funds for “damage beyond normal wear and tear” but not for the cosmetic aging that comes from a tenant simply living in the space. The HUD definition that most state landlord-tenant statutes echo counts faded paint, small picture-hanger holes, worn carpet from foot traffic, and routine kitchen-counter wear as normal. Torn carpet, unauthorized paint colors, large drywall holes, sticker residue, and damaged flooring fall on the chargeable side. Renter-friendly decor is the habit of staying on the right side of that line.
Two cautions before the methods. State laws vary on the specifics, so the deposit chart in your kitchen drawer should come from your lease and your state attorney general’s office rather than a national rule of thumb. And anything you do with adhesive on a wall is only as renter-friendly as the wall it goes onto. Freshly painted walls, textured walls, brick, plaster, and unsealed wood all change the rules. Each section below notes the surface trap that matters for that category.
Walls: where most of your decor decisions live
Walls are usually the largest surface in a small rental and the one renters touch first. They are also the surface where the deposit math gets decided. The toolkit is wider than most renters realize, and the right combination depends on what you are trying to do.
For a whole feature wall, removable wallpaper is the highest-impact move in this entire guide. It goes up like a giant sticker, peels off in long strips when you move, and turns a builder-beige bedroom into a finished room in a Saturday afternoon. The brand decisions matter more than most install guides suggest, which is why we keep two separate posts on the topic: removable wallpaper for renters walks through how the different adhesive classes (peel-and-stick vinyl, water-activated prepasted, traditional pasted) compare for renter use, and best peel-and-stick wallpaper is our roundup of the vinyl brands we keep buying. If you already know you want peel-and-stick and need ideas for where to put it beyond the obvious accent wall, peel-and-stick wallpaper ideas covers stair risers, closet interiors, dresser drawers, and the back of bookshelves. For humid rooms, the rules shift; peel-and-stick wallpaper for bathroom covers what holds in there and what does not.
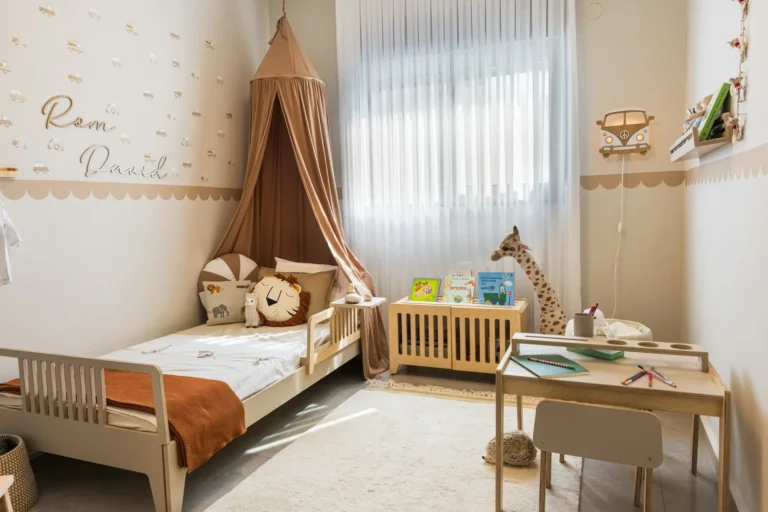
For smaller wall moves, the lower-stakes options carry more of the weekly aesthetic load than they get credit for. Peel-and-stick wall decals handle nursery and kid-room duty, plus the seasonal accent piece that you swap every quarter. Washi tape wall decor handles outlines, faux frames, faux molding, and gallery anchors for the lightest pieces. The two combine well; we have used washi as the gallery anchor and a small decal as the focal piece in the same nursery without a single nail.
For more dimension than wallpaper alone gives you, peel-and-stick wall panels bring 3D texture (faux brick, board-and-batten, shiplap) to a wall in a way wallpaper cannot. They cost more per square foot and they need careful planning around outlets and corners, but the visual lift is the closest a renter gets to actually building something into the wall.
If you want one post that pulls all the wall methods together with no-fastener picture-hanging included, renter-friendly wall decor is the deeper companion to this section.
The surface trap to remember on every wall method: any adhesive needs at least 30 days of paint cure time before it goes on. If the apartment was repainted the week before move-in, every adhesive method becomes a paint-removal tool. Wait the month, or work with leaning and tension-mounted alternatives in the meantime.
Floors: the upgrade that surprises landlords (in a good way)
Floors are the second-largest surface in a rental and the place renters most often write off as fixed. They are not fixed. Peel-and-stick floor tile, in both thin vinyl and thicker LVT-body form, has gotten genuinely good in the last five years, and a $60 bathroom floor or a $300 kitchen install reads to most landlords as an upgrade rather than damage when it comes off cleanly at move-out.
The brand and prep decisions here are bigger than the wall decisions, because adhesive on a floor takes pressure and temperature and moisture in ways adhesive on a wall does not. We keep two posts on this. Peel-and-stick floor tile: a renter’s honest review is the brand-by-brand breakdown, including the two brands we stopped buying. For wet rooms specifically, waterproof peel-and-stick floor tile covers what actually holds in a bathroom or near a sink.
The floor surface trap is subfloor preparation. Anything under 1.5 mm thick will telegraph every dip and lump in the floor underneath within a month, and adhesive does not bond to invisible kitchen grease or to floors that were mopped two hours ago. An hour of degreasing and dry time on the front end is worth more than picking a slightly thicker tile.
Two non-tile floor moves that belong in the renter toolkit but do not need their own post yet: a flat-weave area rug with a non-slip rug pad covers a sad floor visually and cushions sound for the apartment below you, and a runner in a galley kitchen takes the worst of the standing-and-cooking wear without committing to a permanent install.
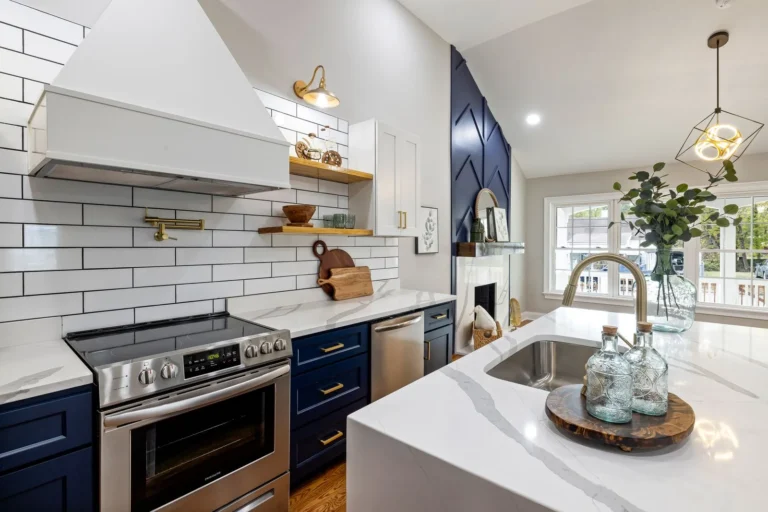
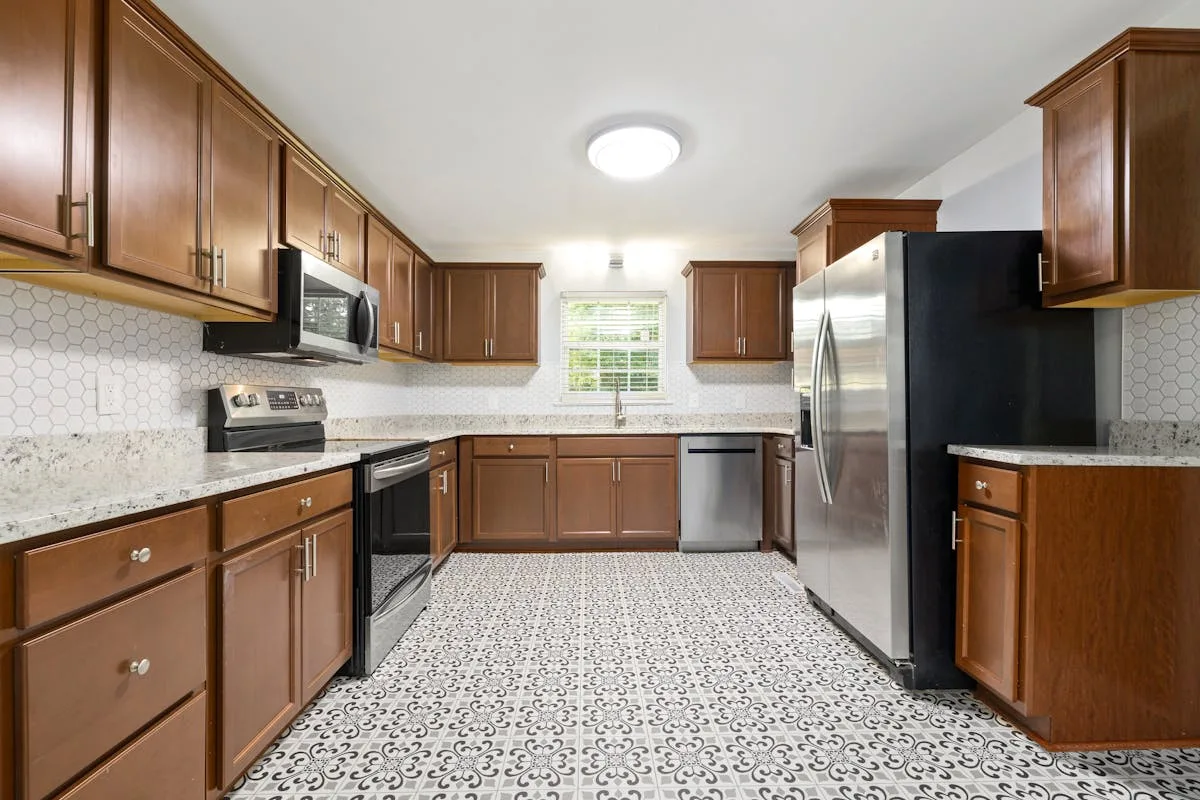
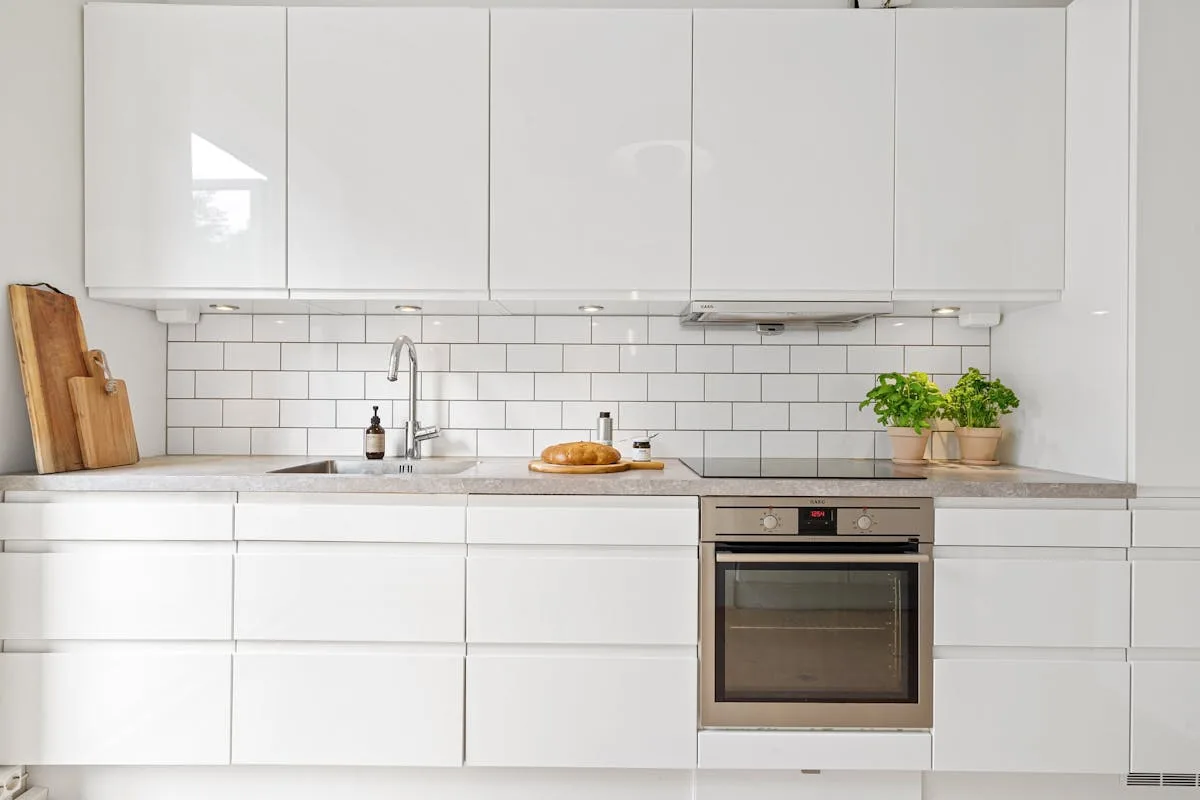
The kitchen backsplash project
The single highest-impact half-day project in a typical rental kitchen is the backsplash. Replacing the dated tile or laminate behind the stove and the sink with peel-and-stick tile turns the kitchen reading from “rental I am stuck with” to “kitchen I designed” without touching a single fastener. Material cost is usually under $80 for a galley kitchen run; the time is a Saturday afternoon if you measure twice.
The brand and pattern decisions matter, and the install moves are surprisingly specific (outlets need to come off, edges need to be sealed against steam, corners need rounding). Peel-and-stick backsplash review is the head-to-head between the brands we have actually installed, plus the install moves that decide whether a backsplash lasts a month or three years.
The backsplash surface trap is grease. The wall above a stove has more cooking oil on it than you think, even in a newer apartment. Degreaser, rinse, full dry, then install. Adhesive over grease film fails fast.
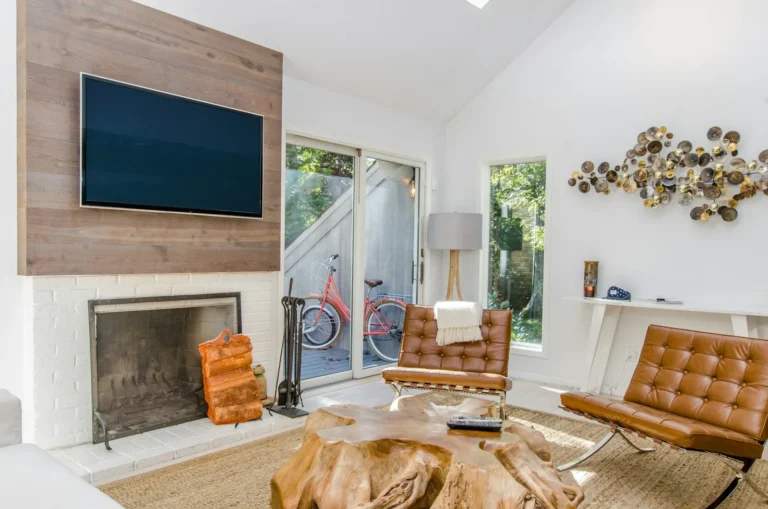
Ceiling and trim: the surfaces no one decorates
The ceiling and the trim are usually the last surfaces a renter thinks about and the ones that pay back the most for the least work. A ceiling done right makes a small room feel taller and finished; trim done right makes builder-grade walls read as architecture.
Peel-and-stick ceiling tiles walks through the foam, tin-look, and styrofoam options that hide a popcorn ceiling or upgrade a flat one. The install is overhead and slower than wall work, but the result lasts the entire lease and comes off without ceiling damage if the original surface was painted and cured.
Peel-and-stick crown molding does what corner molding does in a custom-built room, in foam form, without a single nail or saw cut. We use it in living rooms and bedrooms to break the visual line between wall and ceiling. The result is more architectural and less rental.
The ceiling surface trap is age. A popcorn ceiling in an apartment built before 1980 may contain asbestos, and disturbing it (including with adhesive removal) is a question to ask the landlord before you start. Painted modern ceilings are fine. Anything older than 40 years, ask before you stick.
Bathroom: humidity changes the playbook
The bathroom breaks several rules the rest of the apartment follows. Humidity weakens adhesive faster, condensation pools on grout lines, and the small surface area means a small project (a peel-and-stick floor, a vinyl behind the vanity, a tension-mounted shelf over the toilet) does a disproportionate amount of visual work.
The rules that change: removable wallpaper has to be the vinyl peel-and-stick class rather than the water-activated kind; floor tile has to carry a waterproof rating; wall hooks have to be the “damp environment” or “outdoor” line, not whichever pack was on the shelf; and any adhesive method works better with the bathroom vent running during install and for at least 48 hours after.
The rules that stay the same: 30-day paint cure before adhesive, alcohol wipe before pressing, full pressure roller pass after laying anything down. Peel-and-stick wallpaper for bathroom covers what actually holds on a powder room wall, and waterproof peel-and-stick floor tile handles the floor. A tension rod for the shower curtain plus a second tension rod over the toilet for a storage shelf usually finishes the storage problem without a single fastener.
The bathroom surface trap is the wall right behind the shower. Vapor passes through grout, condensation runs down tile, and any adhesive on that wall (wallpaper, hooks, decor) will lift within months. Decorate the vanity wall and the wall opposite the shower; leave the wet wall to the existing tile.
The hooks, strips, and tension rods that hold everything else
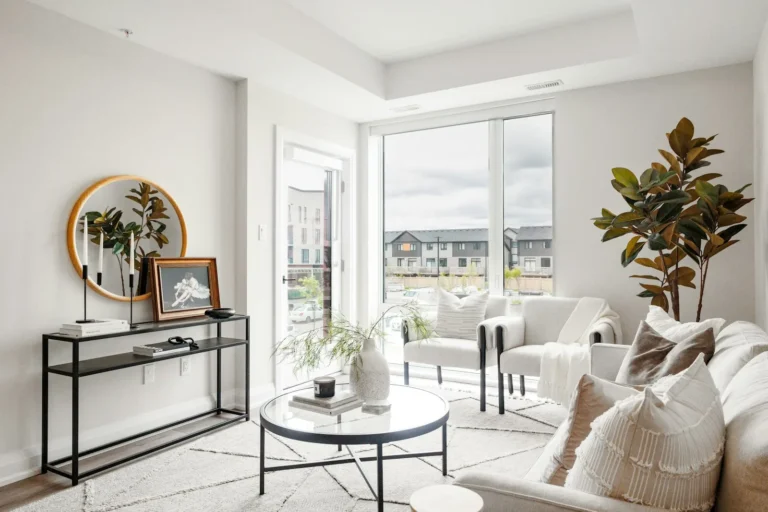
Once the wall surface itself is decided, the remaining renter problem is everything you want to hang on it. Framed art, mirrors, wreaths, shelves, mugs, plants, knives in the kitchen, towel hooks in the bathroom. None of them needs a nail in a normal painted-drywall rental.
The toolkit is wider than most renters expect. Command picture-hanging strips hold framed art up to 16 pounds per pair in the large size on cured paint, given an alcohol wipe and a 30-second press. For wreaths, dish towels, mugs, and lightweight plants, adhesive hooks under their rated weight. Museum putty fixes the leaning-frame-that-keeps-walking-sideways problem in about five seconds. Knives off the counter? A magnetic strip with adhesive backing. Tension rods double as curtain rails and closet shelves, and the back of any door is free vertical surface waiting for an over-the-door hook. How to hang things without nails is the method-by-method playbook with the specific weight ratings and rookie mistakes for each, and the renter-friendly wall decor post folds the same methods into a room-by-room treatment.
The hanging surface trap is the temperature and humidity at install time. Cold rooms (under 50°F) and humid rooms (over 60% relative humidity) weaken adhesive bond on first contact, which is why a January install sometimes fails in February. Heat the room to room temperature, run the bathroom vent or the dehumidifier for 24 hours, then press.
In what order to do this: a 30/60/90 renter playbook
Most deposit-related renter regret is not from picking the wrong method. It is from doing things in the wrong order. The expensive moves get made before the easy moves, the adhesive goes on before the paint cures, the decor goes up before the apartment has revealed where the actual problem spots are. A loose three-month playbook usually saves the most pain.
Week 1, before any decor. Walk the apartment with your phone and take time-stamped photos of every existing flaw. Faded paint near switches, scratches on the floor, stains on the carpet, lifted vinyl in the bathroom, scuffs on the kitchen cabinets. Email the photos to yourself, and ideally email a summary to the landlord too. This is the single most important deposit-protection move in this entire guide, and almost no one does it. Then test how recent the paint is. Press a piece of clear packing tape to an out-of-sight corner, peel it off after a minute. If any paint comes up with the tape, the walls were painted within the last few weeks and adhesive needs to wait.
Weeks 1 to 4, while paint cures. Live in the apartment as is. Lean larger frames and mirrors against the wall instead of hanging them. Use tension rods for any curtain or shower-curtain need. Add area rugs to soften the floor visually. Cook in the kitchen for a few weeks to learn where steam and grease actually land. By the end of the month you have a much clearer picture of what the apartment needs.
Month 1 to 2, the wall projects. With paint cured, the wall projects unlock. Pick a single feature wall (usually the one you see from the front door or the wall behind the bed) and commit to a single method there: removable wallpaper, peel-and-stick wall panels, a decal mural, or a leaned-and-stripped gallery. Do not mix three wall methods on the same wall. Add Command strips and adhesive hooks for the lighter pieces around the rest of the room. By the end of month 2, the walls read as yours.
Month 2 to 3, the surface projects. Now the kitchen backsplash, the bathroom floor, and the ceiling or trim work, in that order. These projects are the highest-impact and the most time-consuming, and doing them after the wall projects means you already know what palette and texture the room wants. Saturdays for backsplash and bathroom floor; a long weekend for a ceiling-tile or crown-molding install in one room.
Month 3 onward, the small fixes. Outlet covers in a finish that matches the new walls. Cabinet handles swapped for something that does not read 1998 (keep the originals in a labeled bag for move-out reinstallation). A new shower head. A floor lamp that hits the corner the overhead bulb does not. Each is a $20 to $40 fix that compounds.
The order is not a rule. It is a sequencing trick that catches the two most common renter mistakes (gluing to uncured paint, and doing the expensive project before the cheap one) before they happen.
The deposit-saver checklist
Most deposit deductions come from the same handful of mistakes, repeated by tenants who otherwise did everything right. Keeping the list visible during the lease (a screenshot in your phone’s notes app counts) does more for your deposit return rate than any single product choice in this guide.
Do not put any adhesive on walls painted in the last 30 days. Fresh paint is still curing, the adhesive bonds to the paint film instead of the wall, and removal pulls the paint with it. The wait is the whole game.
Do not use painters tape, masking tape, duct tape, or foam mounting tape as long-term wall adhesive. Painters tape leaves adhesive transfer after about 14 days. Duct tape and foam tape pull paint on contact. None of them was designed to hold decor.
Do not mix three wall methods on the same wall. Pick one (Command, washi, removable wallpaper, decals) per surface. Mixed adhesive on one wall multiplies your removal-failure surface area and makes any failure look intentional.
Do not skip the rubbing-alcohol wipe before adhesive. Skin oil and dust on the wall kill bond strength on contact, which is the root cause of about half of the adhesive failures we see at month three. Two seconds with a pad fixes it.
Do not install peel-and-stick anything in a cold or humid room. Below 50°F or above 60% relative humidity weakens the bond on first contact. A space heater for an hour or the bathroom vent for a day fixes the problem before it starts.
Do not leave removal to the last day of the lease. Pull adhesive products the week before you move, not the morning of. Acrylic adhesive that has been down a year peels in long strips at room temperature; the same adhesive after a hot summer with the heat off, in a rush, on the last day, tears in chunks. Plan the removal weekend.
Do not patch nail holes with toothpaste or hand soap. Both tricks read as cover-up to any landlord who has done this for more than six months, and the spot under a flashlight on move-out day is bright white instead of off-white. If you already have nail holes, mention them up front. Most landlords write off pinholes when you tell them.
The seven deposit-savers above cover roughly 90% of the chargeable-damage cases we have seen. The other 10% is one-off damage (a chair leg gouge, a cat scratch, a dropped pot), and the answer there is the four-tile-in-the-closet trick from the floor post: save spares of anything you install during the lease, so you have a same-batch replacement if something local goes wrong.
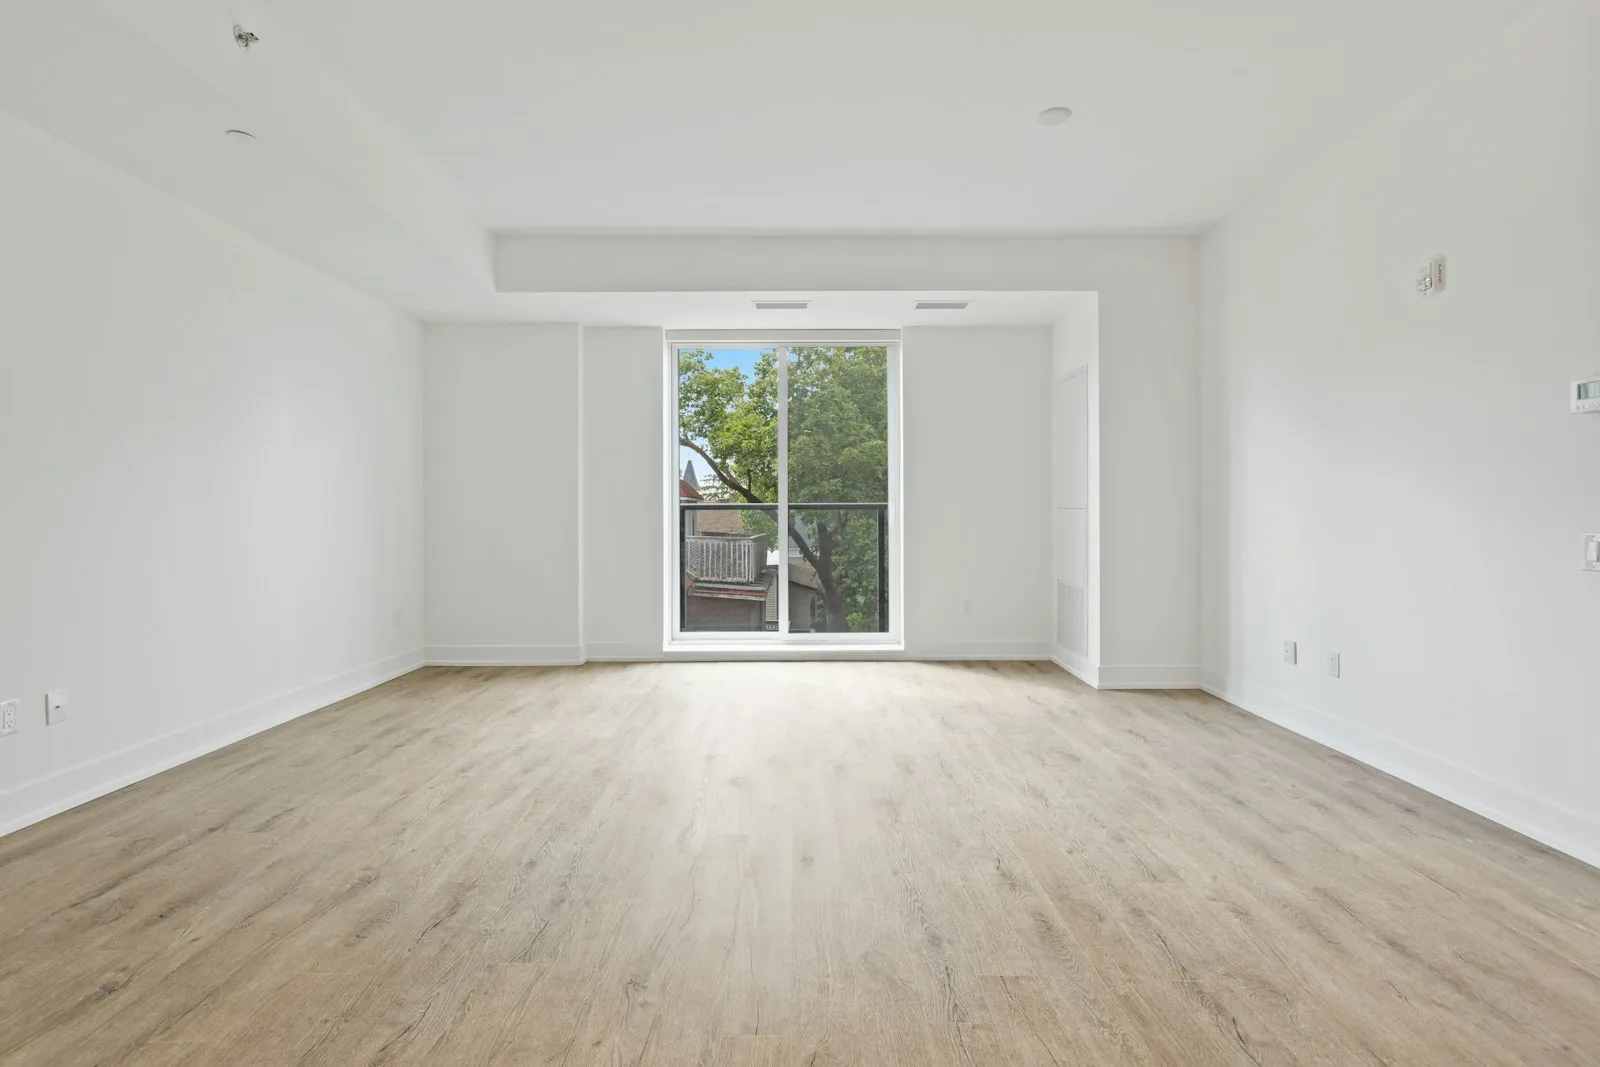
Where to start if the apartment is still empty
If you are reading this from an apartment that is still mostly empty, the renter-friendly decor projects come after the basics: a bed that fits the room, a couch that does not block the only walkway, a table you can actually eat at, and the kitchen tools you need to cook. The pre-decor essentials are covered in first apartment checklist and what to buy first apartment, both of which assume nothing and walk through the rooms one at a time.
The full move-in sequence, including the day-one inspection that protects your deposit, is in apartment move-in checklist.
Decor projects work best layered onto a furnished apartment that you have lived in for a few weeks. Skip ahead at your own pace, but resist the urge to install peel-and-stick wallpaper before you own a chair.
Frequently asked questions about renter-friendly decor
What is the single best renter-friendly decor project for the visual money?
A peel-and-stick feature wall behind the bed or behind the couch. One room, one wall, one Saturday afternoon, and the room reads as designed instead of rented. Material cost lands at $60 to $200 depending on brand and roll count, and the entire installation reverses in about an hour at move-out.
Do I have to tell my landlord before doing any of this?
Most renter-friendly decor (Command strips, washi tape, lean-don’t-hang, tension rods, removable wallpaper on a cured wall, peel-and-stick floor tile over existing intact flooring) does not require landlord approval in a typical US lease, because nothing is being fastened, drilled, or permanently changed. The two exceptions worth a heads-up text are ceiling work on any apartment older than 1980 (asbestos question) and any wall paint change. A texted “I am putting peel-and-stick tile over the bathroom vinyl, photos attached” puts you on the record and almost never gets a no.
How much deposit are renters actually losing to decor damage?
The deposit deductions we see most often cluster around $80 to $300 for adhesive residue, paint peel, or unauthorized paint, with floor-damage charges sometimes higher. Sticking to the seven-rule checklist above keeps almost all of those from ever appearing. The math says even a $30 sample test of a method before you commit is cheap insurance against the average charge being three to ten times that.
What if my walls are textured, brick, or plaster?
The adhesive methods change. Command strips and standard peel-and-stick wallpaper need smooth, painted, cured drywall to hold. Textured walls (knockdown, orange peel, popcorn) usually need the heavier-duty Command line or a lean-don’t-hang approach. Brick and unsealed plaster usually need a different toolkit entirely: shelving systems that wedge between two structural surfaces, leaning frames secured with museum putty, or tension-mounted everything. The wall identification post in how to hang things without nails covers the push-thumb-tack test and the swaps for each surface type.
Will I actually get my deposit back if I do all this?
In our experience, yes, as long as the apartment goes back the way you found it (every adhesive product removed, every photo from move-in matched at move-out, every hole patched and painted to landlord-approved color). The 30/60/90 playbook above and the seven-rule deposit checklist together cover what most landlords actually inspect for. State laws vary on the timeline (most require deposit return within 14 to 30 days of move-out with an itemized list of any deductions), so the answer is partly local. The pattern we see, and that the renter-forum threads echo: tenants who left the apartment visibly cleaner than they found it, with renter-friendly decor removed the week before, get the full deposit back.
What this all adds up to
That first-night walk through the empty apartment looks the same in every rental. The long living-room wall, the bare-bulb bathroom, the 2008 kitchen backsplash, and that paragraph about damage waiting in the lease. The toolkit in this guide turns each of those into a decision instead of a problem. A feature wall with peel-and-stick vinyl. A powder room with a small wallpaper panel and a waterproof floor. A kitchen that reads as designed. A bedroom with a leaned mirror, a washi outline, and an adhesive hook holding the seasonal wreath.
Twelve months in, the apartment reads as a place someone meant to live in. At the end of the lease, a careful removal weekend sends it back to its rental beige; the move-in photos match the move-out photos; the deposit lands in your bank account without a phone call from a landlord in another state. The fourteen spoke posts linked above carry the product-by-product decisions. This one connects them.
Get the renter's first-apartment checklist
Small-space decor ideas for renters, straight to your inbox.
You signed the lease, walked into the empty studio, and clocked the wall you cannot drill into. The long one across from the kitchenette, the one your couch has to live against. Everything you put on that wall is going to be either Command-strip light, or it is not going up at all. And the…
This post contains affiliate links. If you buy through one I may earn a small commission at no cost to you. The first kitchen where I tried this was a one-bedroom in Austin with a galley layout and a builder-grade off-white wall behind the stove that had been catching pasta-sauce spatter for years. The previous…
Peel-and-stick wall decals are the rental-safest decor category there is. Eight picks for nurseries, kid rooms, home offices and entryways, plus three to skip.
This post contains affiliate links. If you buy through one I may earn a small commission at no cost to you. You walked into the rental, set the second box of dishes down, and stared at the wall behind where the TV is going. It is the long one, painted contractor-beige, with a faint shadow…
The sad tan builder-beige in your bedroom looks worse in the morning light than it did at the showing, and the lease clause about “no painting, no holes” reads like a riddle when you’re standing there with a Pinterest tab open. Removable wallpaper is the obvious answer, except every brand swears their version is the…
The roll of peel-and-stick wallpaper just got delivered, you sized it for the accent wall behind your bed, and standing in front of that wall you are now thinking the bedroom does not actually need an accent wall. The pattern is too good to return, the bedroom is too tired for it, and you are…
Manage Consent
To provide the best experiences, we use technologies like cookies to store and/or access device information. Consenting to these technologies will allow us to process data such as browsing behavior or unique IDs on this site. Not consenting or withdrawing consent, may adversely affect certain features and functions.
Functional
Always active
The technical storage or access is strictly necessary for the legitimate purpose of enabling the use of a specific service explicitly requested by the subscriber or user, or for the sole purpose of carrying out the transmission of a communication over an electronic communications network.
Preferences
The technical storage or access is necessary for the legitimate purpose of storing preferences that are not requested by the subscriber or user.
Statistics
The technical storage or access that is used exclusively for statistical purposes.The technical storage or access that is used exclusively for anonymous statistical purposes. Without a subpoena, voluntary compliance on the part of your Internet Service Provider, or additional records from a third party, information stored or retrieved for this purpose alone cannot usually be used to identify you.
Marketing
The technical storage or access is required to create user profiles to send advertising, or to track the user on a website or across several websites for similar marketing purposes.


")