Peel-and-Stick Floor Tile: A Renter Honest Review (5 Brands That Hold, 2 That Do Not)
This post contains affiliate links. If you buy through one I may earn a small commission at no cost to you.
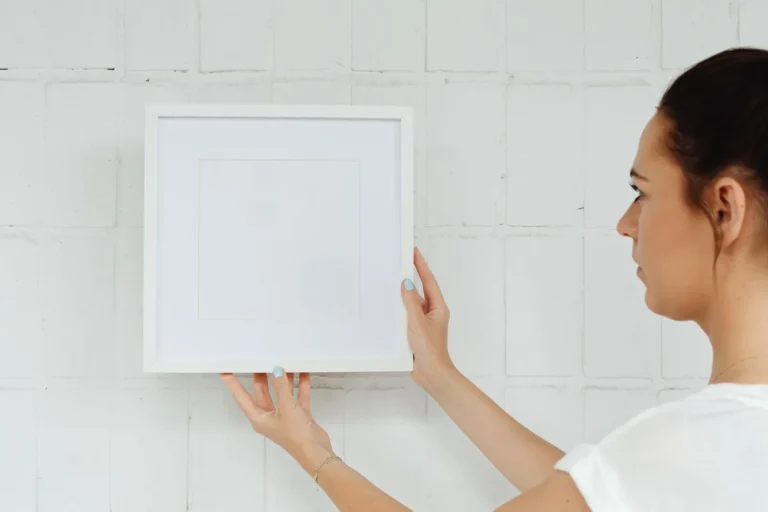
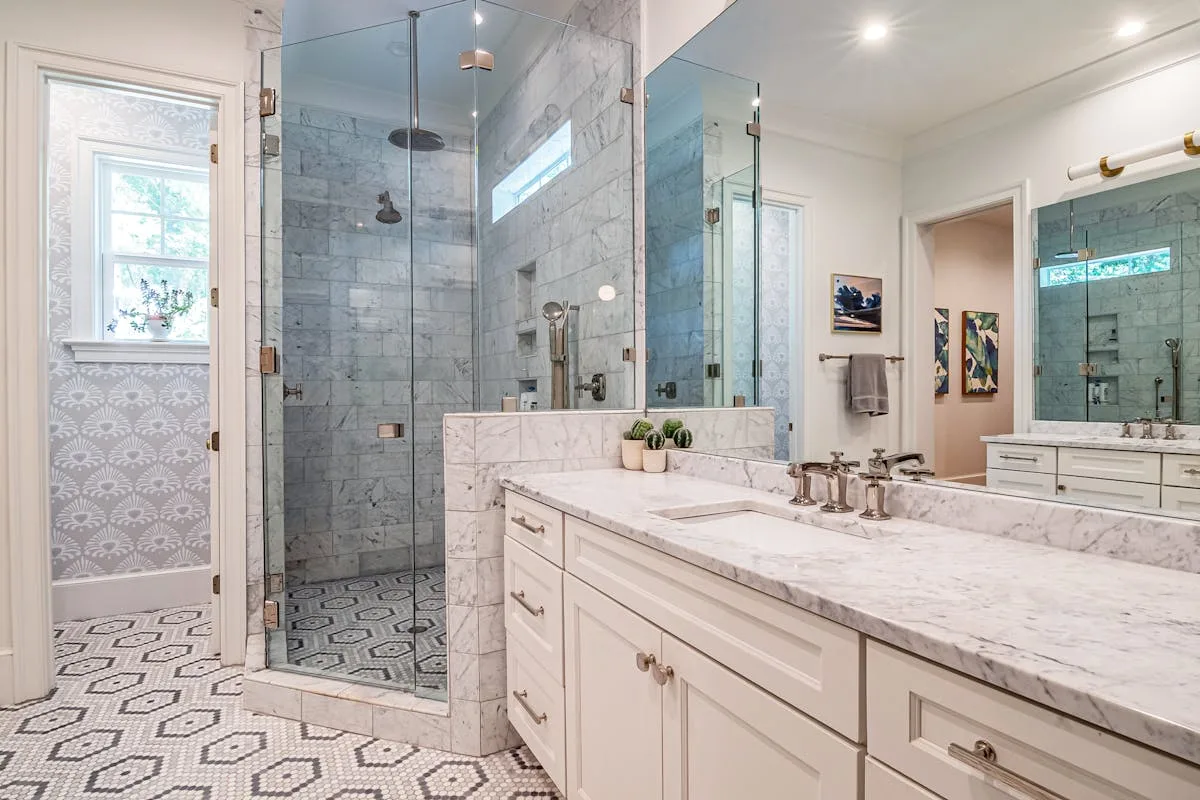
The first apartment where I tried this was a 540-square-foot Chicago studio with a galley kitchen and a bathroom roughly the size of a coat closet. The bathroom floor was beige sheet vinyl, lifting near the tub, and the building was old enough that the landlord’s response to anything cosmetic was a flat no. I put down peel-and-stick floor tile on a Saturday afternoon. It held for the entire fourteen months I was there, came up clean at move-out, and I got every dollar of my deposit back.
That is the win scenario. I have also had the loss scenario. In an Austin one-bedroom four years later, in a much warmer bathroom, a different brand started lifting at the threshold by week three. By month two the corner near the toilet had curled up enough to catch a toe. I spent a weekend pulling it all up and apologizing to the floor.
Across six rentals over the last eight years (three with peel-and-stick floor tile in either the kitchen or the bath), I have run through seven different brands. Five held. Two didn’t. Here is what I would actually buy again, what I would skip, and the install moves I had to learn the hard way.
What “peel-and-stick floor tile” actually covers
Three different products sit under this search term, and the differences matter for whether a brand will hold in your specific apartment. The most common, by a wide margin, is thin vinyl tile: roughly 1.2 to 2 millimeters thick, 12 by 12 inches square, with factory-applied acrylic pressure-sensitive adhesive on the back. It reads as printed vinyl from the floor and as flooring from standing height, and it is what most Amazon listings will ship to your door.
Then there is the thicker peel-and-stick LVT: luxury-vinyl-tile body at 3 to 5 millimeters, peel-and-stick backed instead of click-lock. This reads close to real LVT visually and underfoot, costs roughly twice as much per square foot, and is the product I would actually put in a kitchen. Vinyl planks are the same category in plank form (6 by 36 inches typical) with the same install principles and a slightly different visual.
One trap to know about: some listings claim “peel-and-stick tile” but ship gel-vinyl wall-tile material with floor-grade adhesive. That product is fine on a backsplash and a disaster on a floor; the gel deforms underfoot within weeks. The five picks below are all proper floor-grade material.
What I look for now (specs that decide it)
After two install rounds that did not hold, the specs that actually separate the brands are short. Thickness is the headline one: anything under 1.2 mm shows every dip in the subfloor and curls at the edges within weeks. Comfortable thin-vinyl lives at 1.5 to 2 mm. Above 3 mm is LVT body, which is the upgrade if budget allows. Wear layer is the spec that predicts how long the print holds up; I look for 6 mil minimum for low-traffic baths and 12 mil minimum for anything that gets shoes.
Edge profile decides install speed and seam look. Square edges go down fast and hide grout-line shadows; beveled edges look more like real tile but punish careless spacing. I have not had a good experience with beveled on thin vinyl yet.
Always sample first. Brands that ship samples cheaply (under $5, refundable on order) get the sample. The ones that don’t, I skip. The print never matches the listing photo perfectly, and the sample is the only way to know whether the marble veining lands sharp or muddy under your kitchen lights.
The 5 brands I would buy again
What to watch: FloorPops is thin enough that it reads cheap on poorly prepped subfloors. If your existing floor is uneven, sand the high spots flat before laying or the tile will telegraph every dip within a month.
What to watch: the print is fine from standing height, less convincing up close. Thinness shows every subfloor flaw. Best on smooth dry concrete or on top of intact sheet vinyl, not on cracked subfloor.
What to watch: at three to four dollars a square foot, this is no longer the cheap option. A 100-square-foot kitchen lands around $300 to $400 installed. Worth it if you are staying at least eighteen months; less worth it for a six-month sublet.
What to watch: Art3d is rigid enough that it needs a properly level subfloor. Any high spot or uneven seam shows through within a month. Pattern selection also skews to marble and hex, so a wood-plank look means a different brand.
What to watch: this is thin plank. Subfloor preparation matters more than the listing suggests. If you have any dip or bump in the floor, the plank will show it within a month.
What I would actually skip
Two products in this category I have tried and would not buy again.
Generic Amazon “marble” peel-and-stick tiles under $0.40 per square foot. These ship as gel-vinyl wall material with floor-grade adhesive applied at the factory. The gel body deforms underfoot, the print scuffs in weeks, and the adhesive lifts at any temperature swing. The listing photo is shot in a studio with the best run from QC, and the tile that lands on your doormat is not that tile.
Peel-and-stick “carpet tiles” under a dollar a square foot. Different category, same problem: the adhesive on the cheap end is too soft for floor application, and the carpet face shows every footprint within a week. If you want carpet tile, FLOR or Achim’s pro line are the brands that hold; the budget tier is not worth the move-out cleanup.
Install lessons the listings do not tell you
The brand decides a lot. The install decides the rest.
Prep takes longer than you think. Every tile I have lost was on a floor I prepped in fifteen minutes. The floors that held got an hour of cleaning with degreaser, a vacuum, a tack-cloth pass, and at least two hours dry time after any mopping. Adhesive does not bond to invisible kitchen-grease film, and it does not bond to damp.
Dry-lay the whole floor first. Open the boxes, lay every tile in position without removing the backing, walk the room, look at the cut tiles at the walls. If half the room would land on tiny slivers, shift the starting line two inches and check again. Cuts that land below an inch and a half are the first places the floor lifts.
Roll every tile after laying. A small kitchen roller (the kind you use for J-roll on vinyl), or a clean rolling pin, run firmly over every tile once it is down. The PSA needs pressure to set; foot pressure alone gives you about sixty percent of the bond strength the adhesive is capable of.
Score-cut, do not push-cut. Score the tile with a sharp utility knife along a metal straightedge, snap, then trim. Push-cutting through 1.5 mm vinyl is how you end up with crooked edges that fight the grout-line illusion.
Start in the corner the eye lands on. This is the one piece of decor advice that flooring tutorials never quite say. The corner you see when you walk into the room is where you want a full tile. Plan from there outward.
What this costs
For a 40-square-foot rental bathroom, the math runs roughly:
- Budget tier (Achim Nexus / Tivoli II): $25 to $50 in tile
- Mid-range (FloorPops / Art3d): $65 to $120 in tile
- LVT body (Lucida): $110 to $180 in tile
- Tools (utility knife, straightedge, roller): $20 to $35 if you do not already have them
A 100-square-foot kitchen multiplies the tile cost but not the tool cost; total kitchen install for the LVT tier lands around $300 to $400, which is meaningful money but still a fraction of a contractor LVT install.
The renter parts no one mentions
Document the floor before you start. Take five photos of the existing floor with the time-stamp on. If the bathroom vinyl was already lifting (mine was), you want a record. Peel-and-stick tile installed over damaged sheet vinyl that you did not cause is a fine outcome at move-out; peel-and-stick tile that hides damage you did not document looks like you tried to cover something up.
Removal is the part you do not skip. When the lease ends, the tiles need to come up the same week you move out, not the week after. Acrylic adhesive that has been down a year peels off in long strips at room temperature; the same adhesive after a hot summer with the heat off becomes much harder. Pull while the apartment is still warm.
Save four tiles in a closet during the lease. If one chips or scuffs badly under a chair leg, you have a same-batch replacement that matches color exactly. The dye lot on these tiles drifts between production runs, and a replacement from a new lot is visibly different.
Tell the landlord at move-in if you plan to do this. A texted “I am putting peel-and-stick tile over the bathroom vinyl, here are photos of the existing damage” puts you on the record. Most landlords I have asked have not minded; one asked me to leave it down because the next tenant liked it.
Frequently asked questions
Does peel-and-stick floor tile actually come up without damaging the subfloor?
If the original floor underneath was intact and you remove the tiles within a year or so, yes. The acrylic PSA stays flexible at room temperature and lifts in strips. The risk cases are tiles that have been down for three-plus years in a heated room (adhesive can cure harder over time) and tiles laid directly on bare wood subfloor with no existing sheet vinyl, where the wood grain can pull adhesive residue.
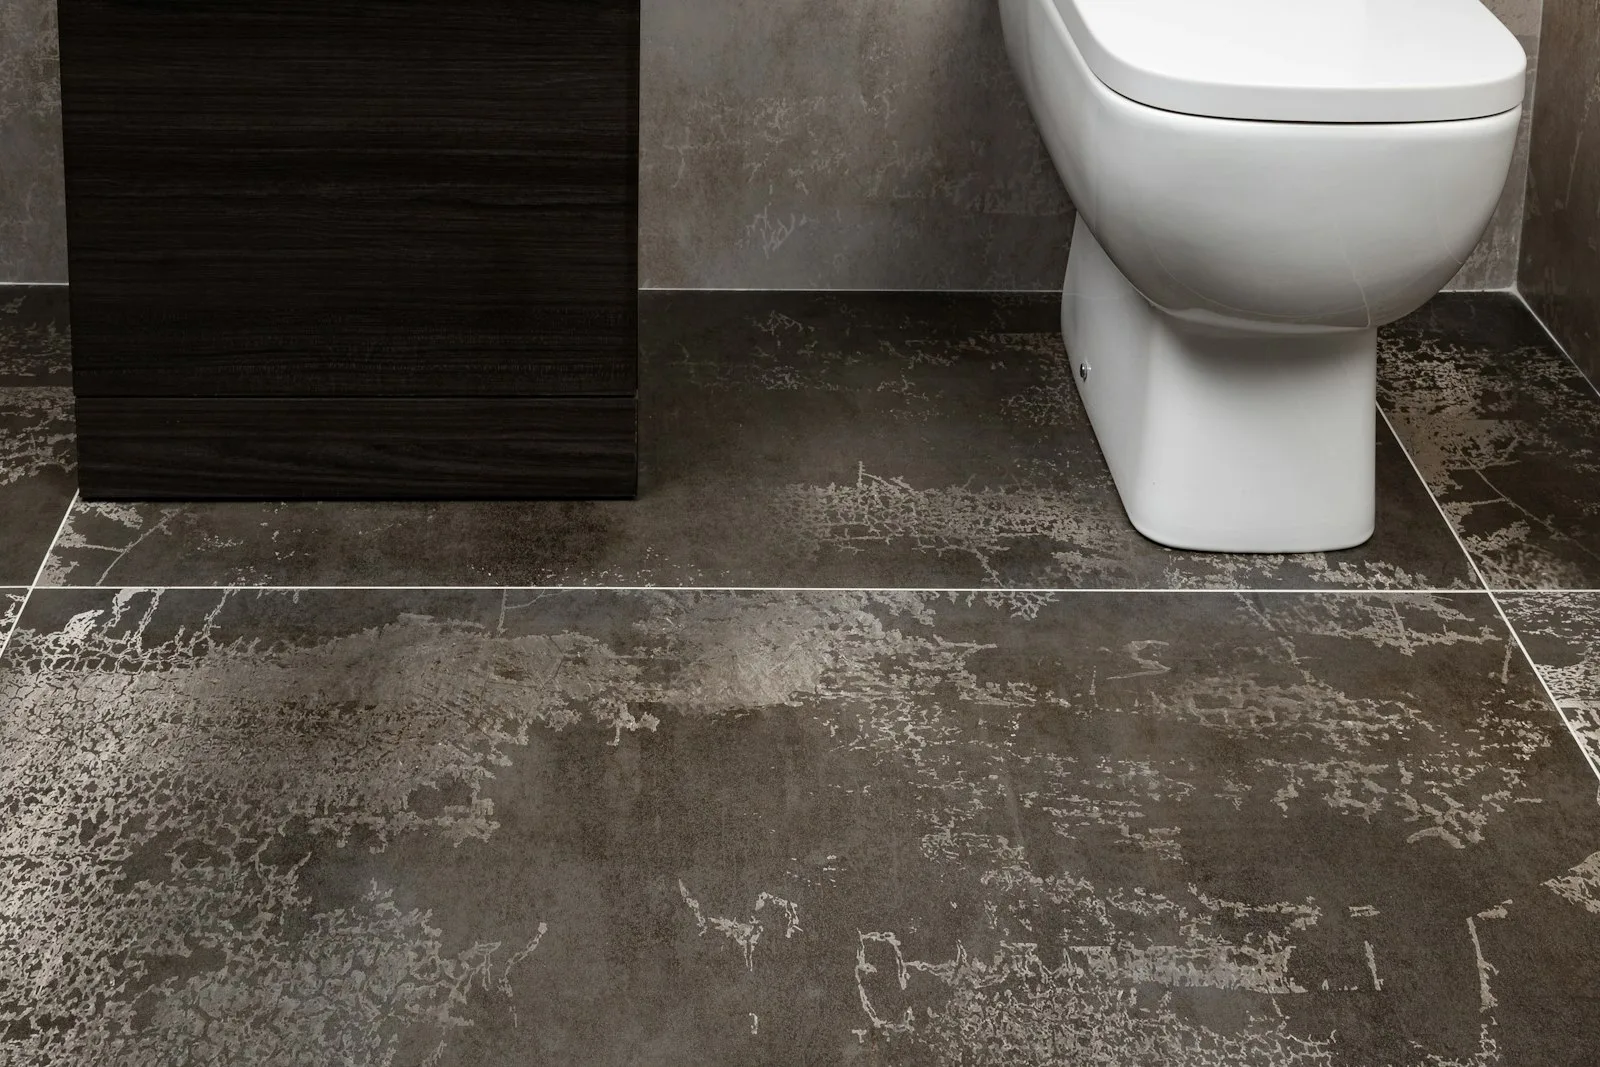
Can I put peel-and-stick floor tile over existing tile?
Yes, if the existing tile is flat, intact, and the grout lines are not too deep. Grout lines wider than about a quarter inch telegraph through the new tile and become visible ridges in months. Flat ceramic or porcelain with thin grout lines is the most forgiving substrate.
What about kitchens with sink leaks and dishwasher steam?
Steam is fine if you sealed the seams carefully. Slow leaks are not. If your dishwasher or sink has any history of dripping, fix that first. Peel-and-stick tile is a cosmetic upgrade, not a moisture barrier, and water that pools under the tile will lift it from below within weeks.
Is it safe for radiant-heated floors?
Mostly no. The adhesive on most peel-and-stick tile is rated to about 85 degrees Fahrenheit; sustained radiant heat above that softens the bond. A few LVT-body brands (Lucida among them) publish a higher rating; if you have radiant heat, look for a brand that explicitly says so on the spec sheet.
What is the single most expensive mistake people make with these?
Skipping the sample. Every install I regretted started with me trusting the listing photo. The print on a real tile in your real apartment under your real light is the only photo that matters; the listing photo is shot in a studio with the print run that scored best in QC.
What I would tell myself before the first install
That Chicago bathroom held because I picked a decent brand and got nothing else wrong. The Austin bathroom failed because I bought the cheapest tile on Amazon, prepped the floor for fifteen minutes, and laid it on a 90-degree afternoon with the AC off. Eight years later, the install moves matter at least as much as the brand on the box. A good brand on a badly prepped floor lifts in weeks; a budget brand on a properly prepped floor often holds for a lease.
Pick the tile from the five above that matches your room. Prep the floor like you mean it, roll every tile, and save four in the closet for the inevitable chair-leg gouge. That is it.
For the rest of the renter playbook (walls, ceiling, the 30/60/90 install order, and the deposit-saver checklist that keeps it all from showing at move-out), our renter-friendly decor hub is the map.
")

")
")
")
")